Groups
Create, rename, delete, hide, lock, and structure Groups in Bkper to organize your Accounts and simplify reporting.
Groups in Bkper help you categorize and structure Accounts, making financial analysis and reporting easier. Unlike rigid structures in traditional accounting systems, Bkper Groups are fully flexible — you can modify and reorganize them at any time while balance values stay in sync.
Groups offer several advantages:
- Simplified reporting — view consolidated balances of multiple Accounts at once
- Organized data — structure your Chart of Accounts logically
- Meaningful insights — enable better financial analysis
- Hierarchy support — Groups can contain both Accounts and other Groups
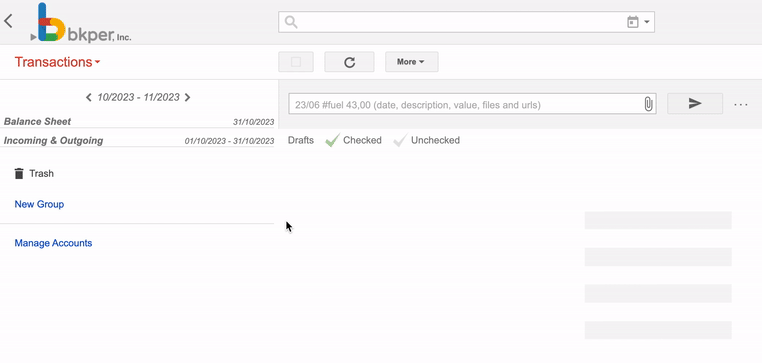
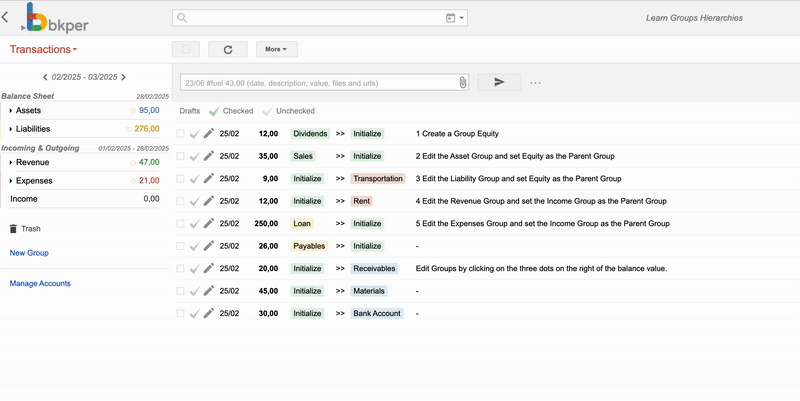
Create a Group
In your Book, look for the New Group option in the left menu. Give your Group a name that reflects its purpose — like Travel Expenses, Revenue Streams, or Operational Costs — then click Save.
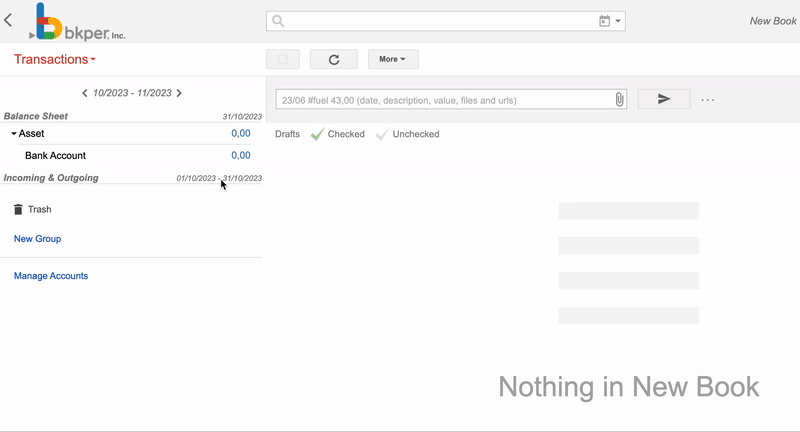
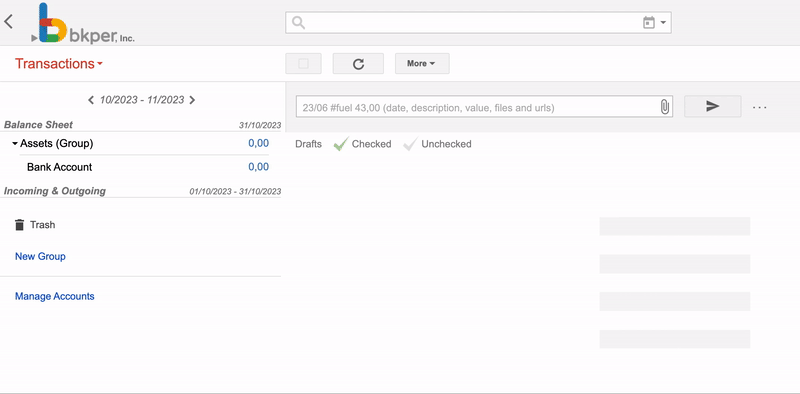
Your new Group appears alongside the others in the left menu, ready to hold Accounts. From here, you can drag and drop Accounts into the Group or adjust its hierarchy to better organize your finances.
Managing Groups
Renaming a Group
Click the three dots next to the Group’s balance, select Edit, enter the new name, and press Save.
Deleting a Group
Click the three dots, select Delete, and confirm. Deleting a Group does not delete the Accounts or their balance values inside it — those Accounts remain in your Book, just no longer grouped together.
Hiding a Group
If a Group should remain in your Book but not appear in the left menu or reports, you can hide it. Click the three dots and select Hide. This is useful for auxiliary Groups used only for internal tracking, custom properties, or bot configurations.
Showing a hidden Group
Hidden Groups are still visible (in light gray) in the Chart of Accounts. Click the three dots next to a hidden Group and select Show to bring it back into the left menu.
Group properties
You can attach custom properties to a Group — typically to configure bot behavior for all accounts in that group. For example, the Tax Bot reads tax_included_rate and tax_excluded_rate from a group to calculate taxes on every transaction in its accounts, and the Exchange Bot reads exc_code to know which exchange rate to use.
To manage group properties, click More > Edit on the group and expand the properties section. See the Properties guide for details and examples.
Comments on groups
You can leave comments on any group to coordinate with your team — for example, a note explaining why a group’s structure changed or a request to review its accounts. Select the group and click the comment icon; mention a collaborator with @username to notify them.
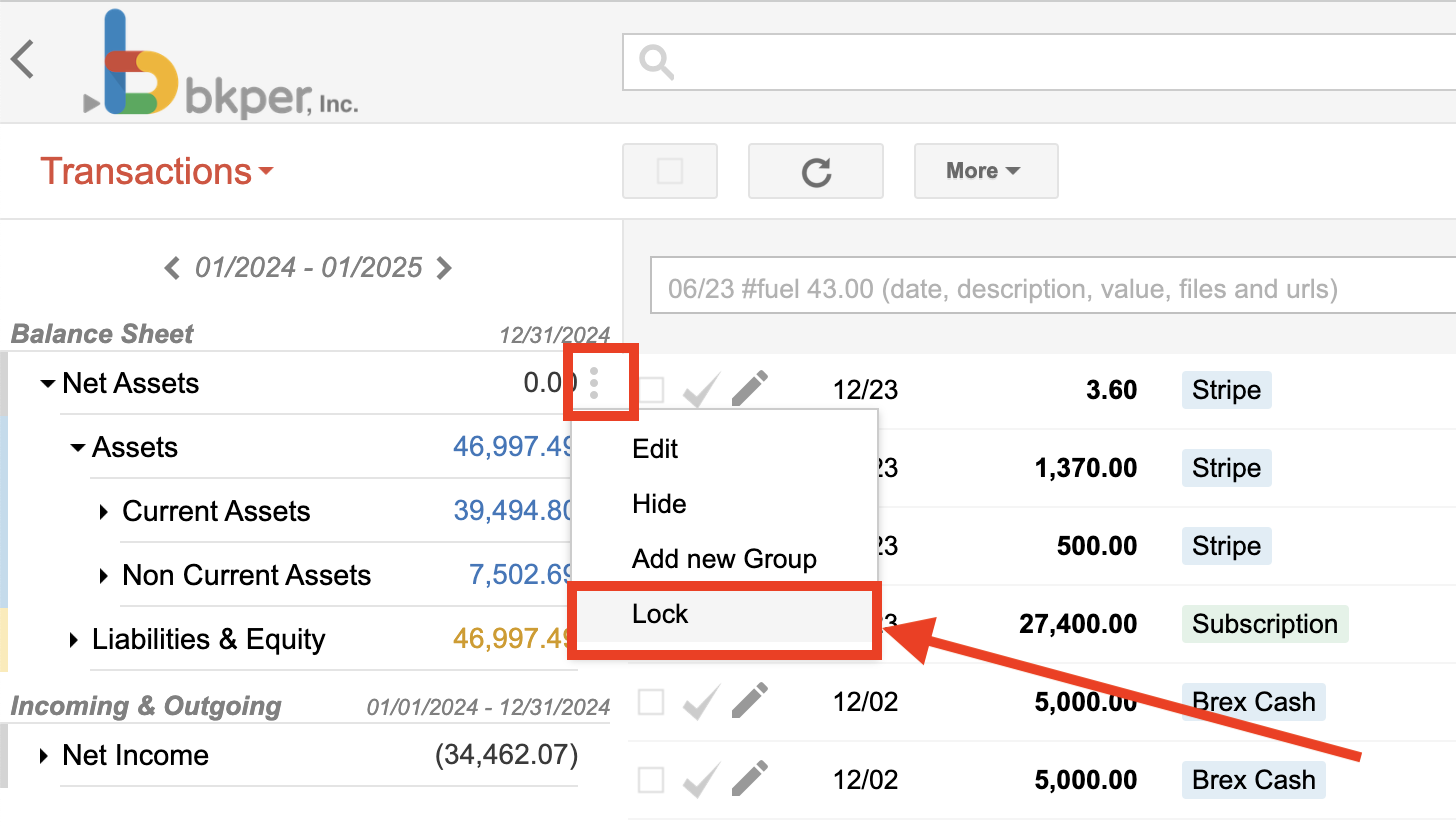
Locking a Group
To prevent accidental changes to a Group’s structure, you can lock it.
- Only Book Owners can lock or unlock a Group.
- Only Root Groups (the highest level in a hierarchy) can be locked.
Locking ensures that no one accidentally reorganizes critical data that could disrupt reports or automated workflows.
Adding Accounts to a Group
Drag and drop from the Transactions page
Find the Account in the left menu and drag and drop it onto the target Group. The Account is immediately added and its balance included in the Group total.
From the Chart of Accounts
Open the Chart of Accounts, select the Account(s) you want to categorize, click the Groups button, choose the target Group, and apply. This method supports bulk selection, making it efficient for organizing many Accounts at once.
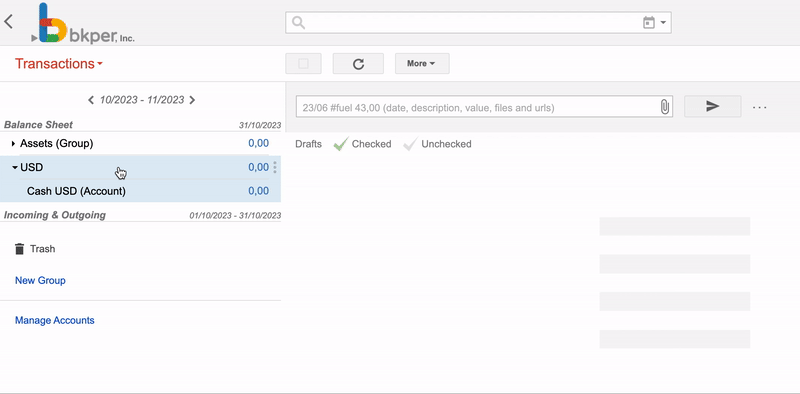
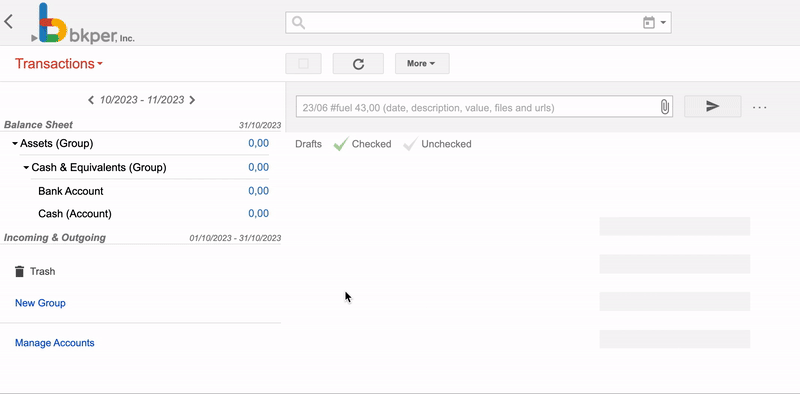
Group hierarchies
Groups can be nested within each other to create structured financial hierarchies. At the top sits the Root Group (for example, Assets), beneath it are Child Groups (for example, Current Assets), and the lowest level of Groups contains the actual Accounts.
An example hierarchy:
Assets (Root) → Current Assets (Child) → Receivables (Child) → Customer A, Customer B (Accounts)
Adding a Group to a hierarchy
To place a Group within a hierarchy, edit the Group and assign a Parent Group. The parent Group must already exist.
Removing a Group from a hierarchy
To detach a Group from its parent while keeping it as an independent Group, edit it, clear the Parent Group dropdown, and save.
When a Group is removed from a hierarchy:
- Child Groups inside it remain intact.
- Accounts stay in both the removed Group and the parent Group, unless the parent is also removed.
- Accounts can be manually reassigned as needed.
With a well-structured hierarchy, you can retrieve an entire Balance Sheet or Income Statement with a single query — for example, Net Assets on:2026 or Net Income on:2026.
Searching by group
The group: query operator filters transactions and balance values by Group. Combined with date operators, this gives you instant reports — group:'Travel Expenses' after:$y-1 before:$y shows last year’s travel spend. Since Groups roll up balances from all their child Accounts, a single group: query can replace dozens of individual account filters.
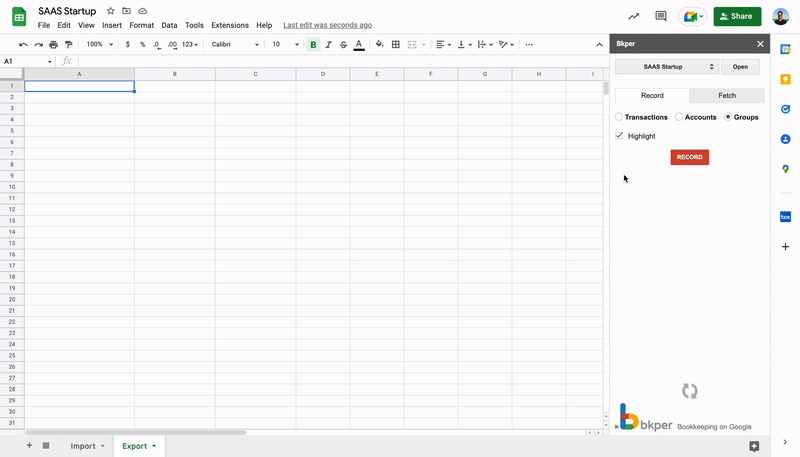
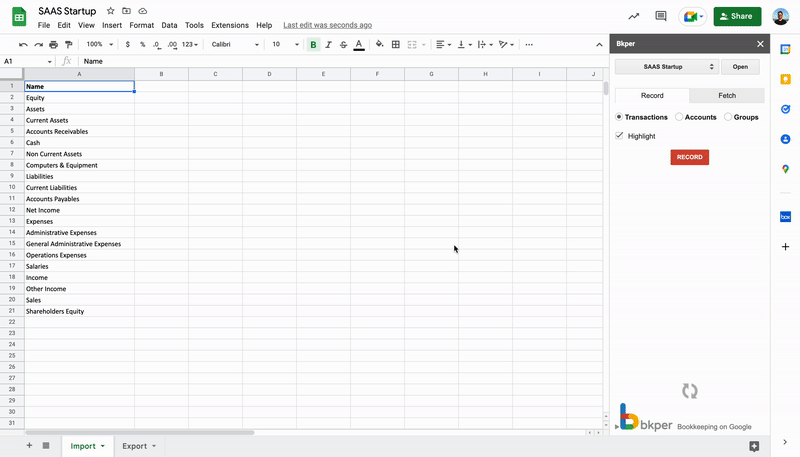
Bulk export and import
You can manage Groups in bulk using the Bkper Add-on for Google Sheets. Use Fetch Groups to export your Group structure to a spreadsheet, and Save Groups to create Groups in batch — including hierarchy and Custom Properties.
Related
- Chart of Accounts — build and visualize your full account and group structure